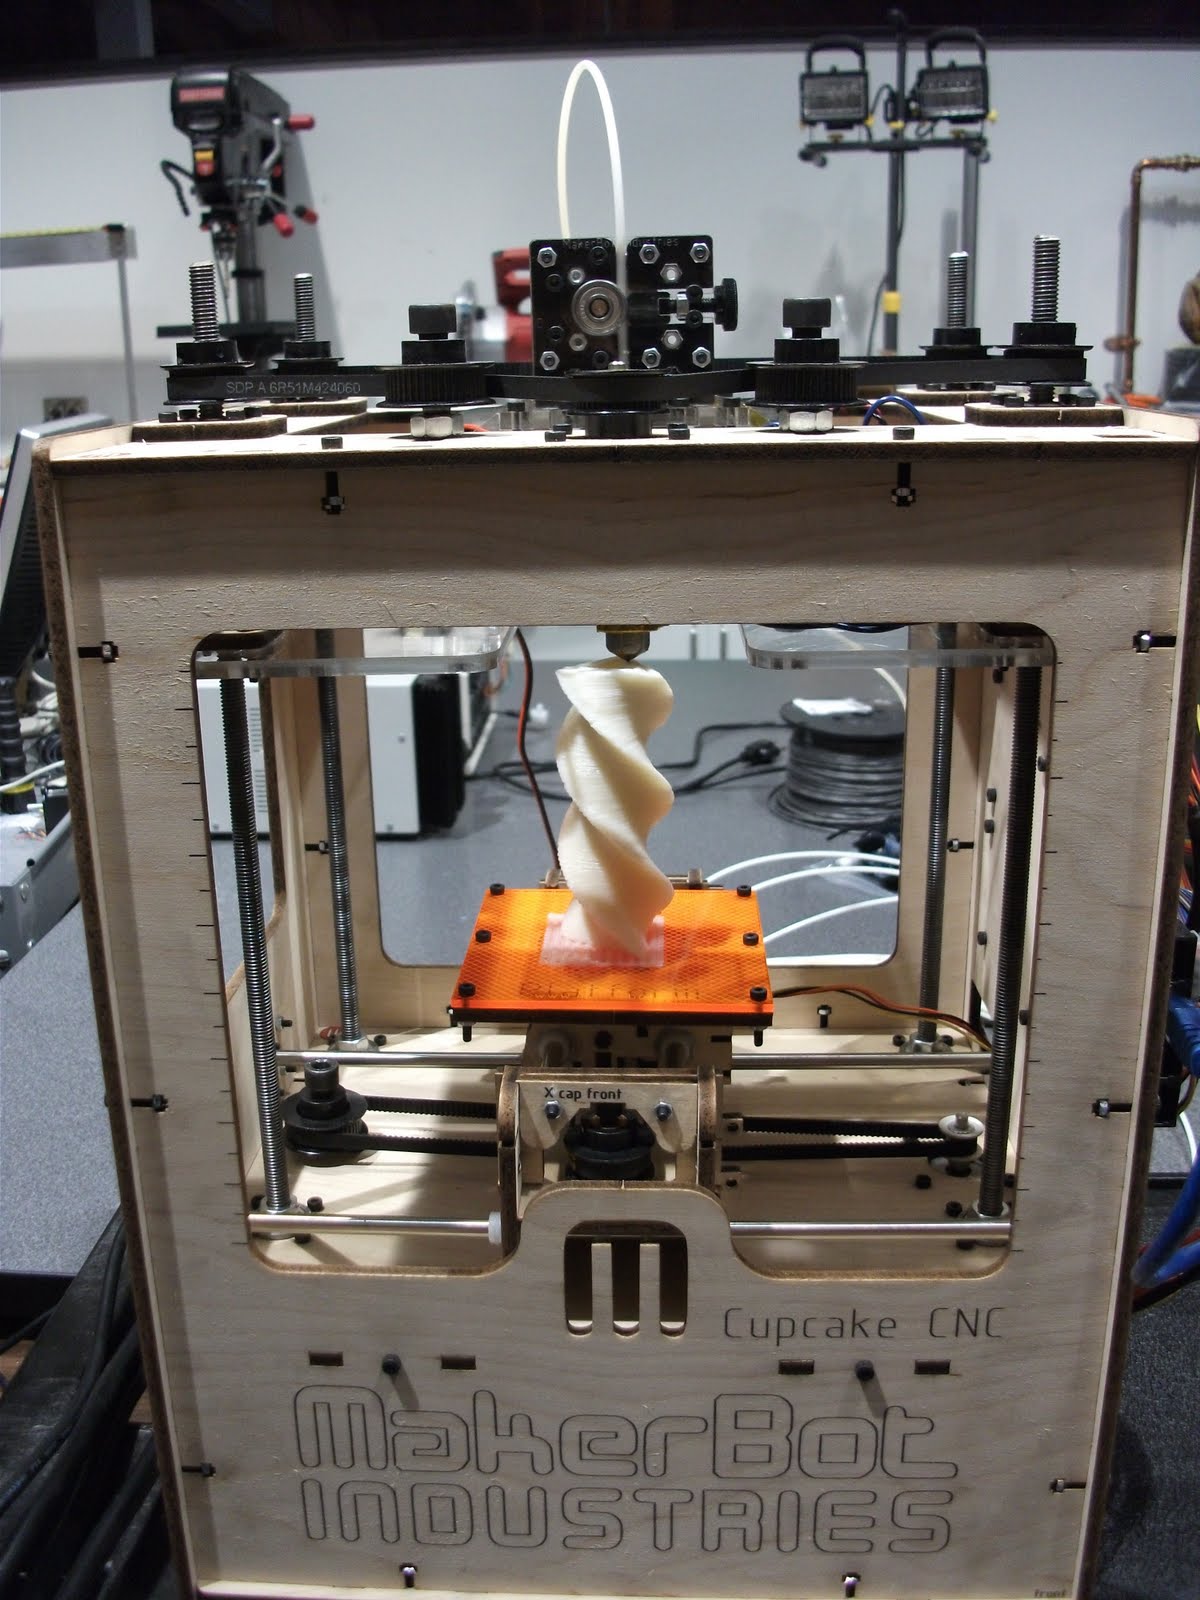
The Makerbot Plastruder Mk4. Not exactly the most popular thing around the makersphere, and unfortunately, deserving of its reputation.
First, the controller board is mounted directly in front of the most important part of the entire machine. . .the location the operator most needs to see at all times: the pinch wheel and idler feeding filament (or not).
As mentioned in the
assembly instructions, step 15, my answer was to move the board. The top left corner of the case wall has a space seemingly designed it. Simply drill a few holes for mounting and cable feeding, crimp on some extra lengths of wire, twisted neatly to reduce EMI, and voila.
All well and good until you print a bit and run into the Achilles heel of the design: the idler wheel. Thankfully there are some pointers in the assembly instructions to help with this as well. In the instructions,
this discussion is referenced, although there is a caution not to use the method with the Mk4. This is probably because the doubled idler wheels are wider than the pinch pulley that's included with the Mk4. I decided to file the edges of the doubled idler wheel to a bevel so that the assembly would fit into the pulley.

This nearly worked, and fortunately as I tested the fit by trying to jam the filed double idler into the pulley, the top of the pulley popped off. I removed the bearing, removed the pulley top, and refit the bearing, leaving enough space for the filed double idler. After messing with different washer configurations to get the idler to sit in the newly expanded pulley, everything came together.
Note the radial lines drawn on the idler wheel assembly. In my not so humble opinion, it's not an optional step. This is a suggestion that's made too late in the instructions: after it's already bolted inside its enclosure. I also marked the enclosure itself with two reference lines so that the operator can near instantly see if the filament is feeding.
 I was considering various options to improve the grip of the drive pulley and happened across a reference to the MakerBot site, where the problem is addressed. I've ordered the Mk5 Drive Gear Upgrade Kit, which should feed filament better and have less issues with the double idler setup, if I'm eyeballing it right. To tell the truth, I'm a little annoyed that this upgrade wasn't automatically included in the purchase, or I wasn't somehow notified that it was really, really likely I was going to want to spend an extra $10 on it. . .which I would have gladly done.
So, after re-assembly, the Plastruder Mk4.1 is working as well as it is likely to, which is to say that it regularly strips a bite out of the filament whenever there is back pressure on the extrusion due to the nozzle being too close to the part, for any of a good number of common reasons. The filament then stops feeding, ruining the part and requiring the operator to back the filament completely out, cut to a virgin section, feed it back in, test the extrusion, then restart the part. Hopefully the Mk5 upgrade will help with this.
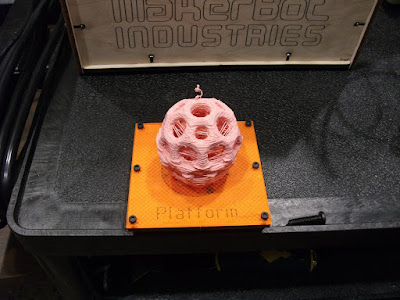


 More printing goodness